 基本图
基本图In games we often encounter situations where we have tough time deciding how to play because we can't read clearly from all the options we have. We can't read clearly mostly because the board is too vast or empty that we don't have enough information to help guide our decision making process. For example in 基本图, white has many options A-E to choose from. Without more information from the surrounding, it will be very tough for white to decide.
 With clear picture from the surrounding, the decision between A and B is quite easy to make for black. From a rough analysis, if black presses from A to build thickness then black probabily tries to use it to build moyo in the left side. But the solid white corner effectively constrains black's moyo development.
 黑1 tight pincer is a logical move. Black tries to extend to the farthest to maximize black's thickness.
Sometimes face with vast empty board like above, decision becomes very murky and very difficult to pinpoint. In this case, we need to "probe" for more information.

白1 is the "probe" move. White is soliciting more information from black to make the picture clearer so white can make better decision at the lower corner. Black's response at either A or B will alter white's response at lower corner.

Question 1:
If black defends with 黑2 then how would white play at the lower corner?


 黑1-黑5 is probabily 一本道 next white needs to prey the brain and think about how to fortify cuts outside.
 黑4 is too severe thus 白1 capture is not a good option.
 After 黑2 join, corner territory is quite big plus not much of aiji. Although white gains sente (original joseki white is gote) black peeks at A is a bit annoy.
  For original joseki, white has a nice yose move at 白1 when white has marked seed. 黑2 is 本手. White reduces black corner's territory by tightening black group's liberties.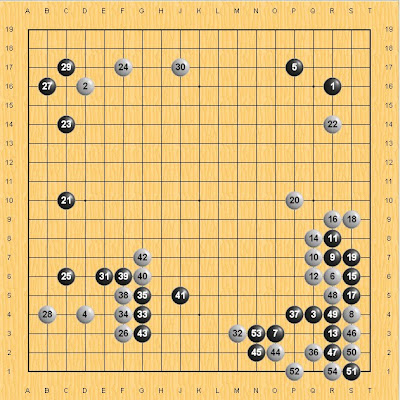
 白1 is the easiest to think so but white group is a bit heavy especially after black peeks at A. Corner white seed can't pull out as white doesn't have enough liberties.
 Sequence up to 白5 is a possible variation. Personally I prefer black a bit more.

 黑4 扳 is the first instinct. But after 白7, 黑 needs to buckle down and do some serious calculation on whether black can cut on B or not.
 Black needs to consider whether to extend at A first or join directly at B. As a spoiler, extend at A does not work well for black.
 Due to ko material at A, white can win the ko fight in the corner. This variation is unsuccessful for black.
 黑1 join is correct. After 黑3, if white wants to continue to fight in the corner can play either A or B. Although calculation is rather tedious, both variations are not favorable for white.
 白15 = A
 白1 = A
 黑1 removes ko is overly fierce. Sequence to 黑9 we have a rare seki with white group without an eye.
 黑1 is correct. White group is unconditionally surroundered.
 Even if black can escape with 黑1, black group will transform into a spectacular art piece.

 图1
图1
 基本图2
基本图2

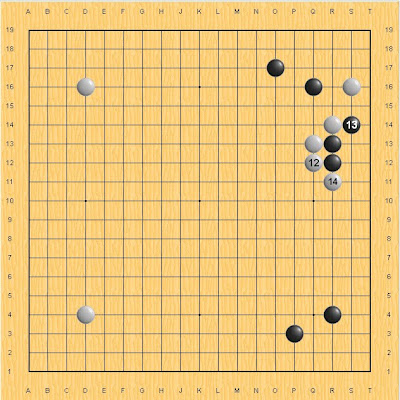 基本图3
基本图3 黑15 is what white hopes.
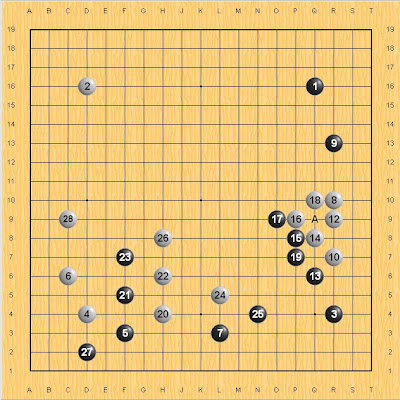
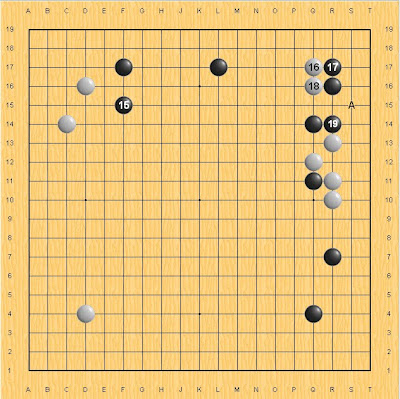
 Comparsion Picture:


 Posts
Posts

